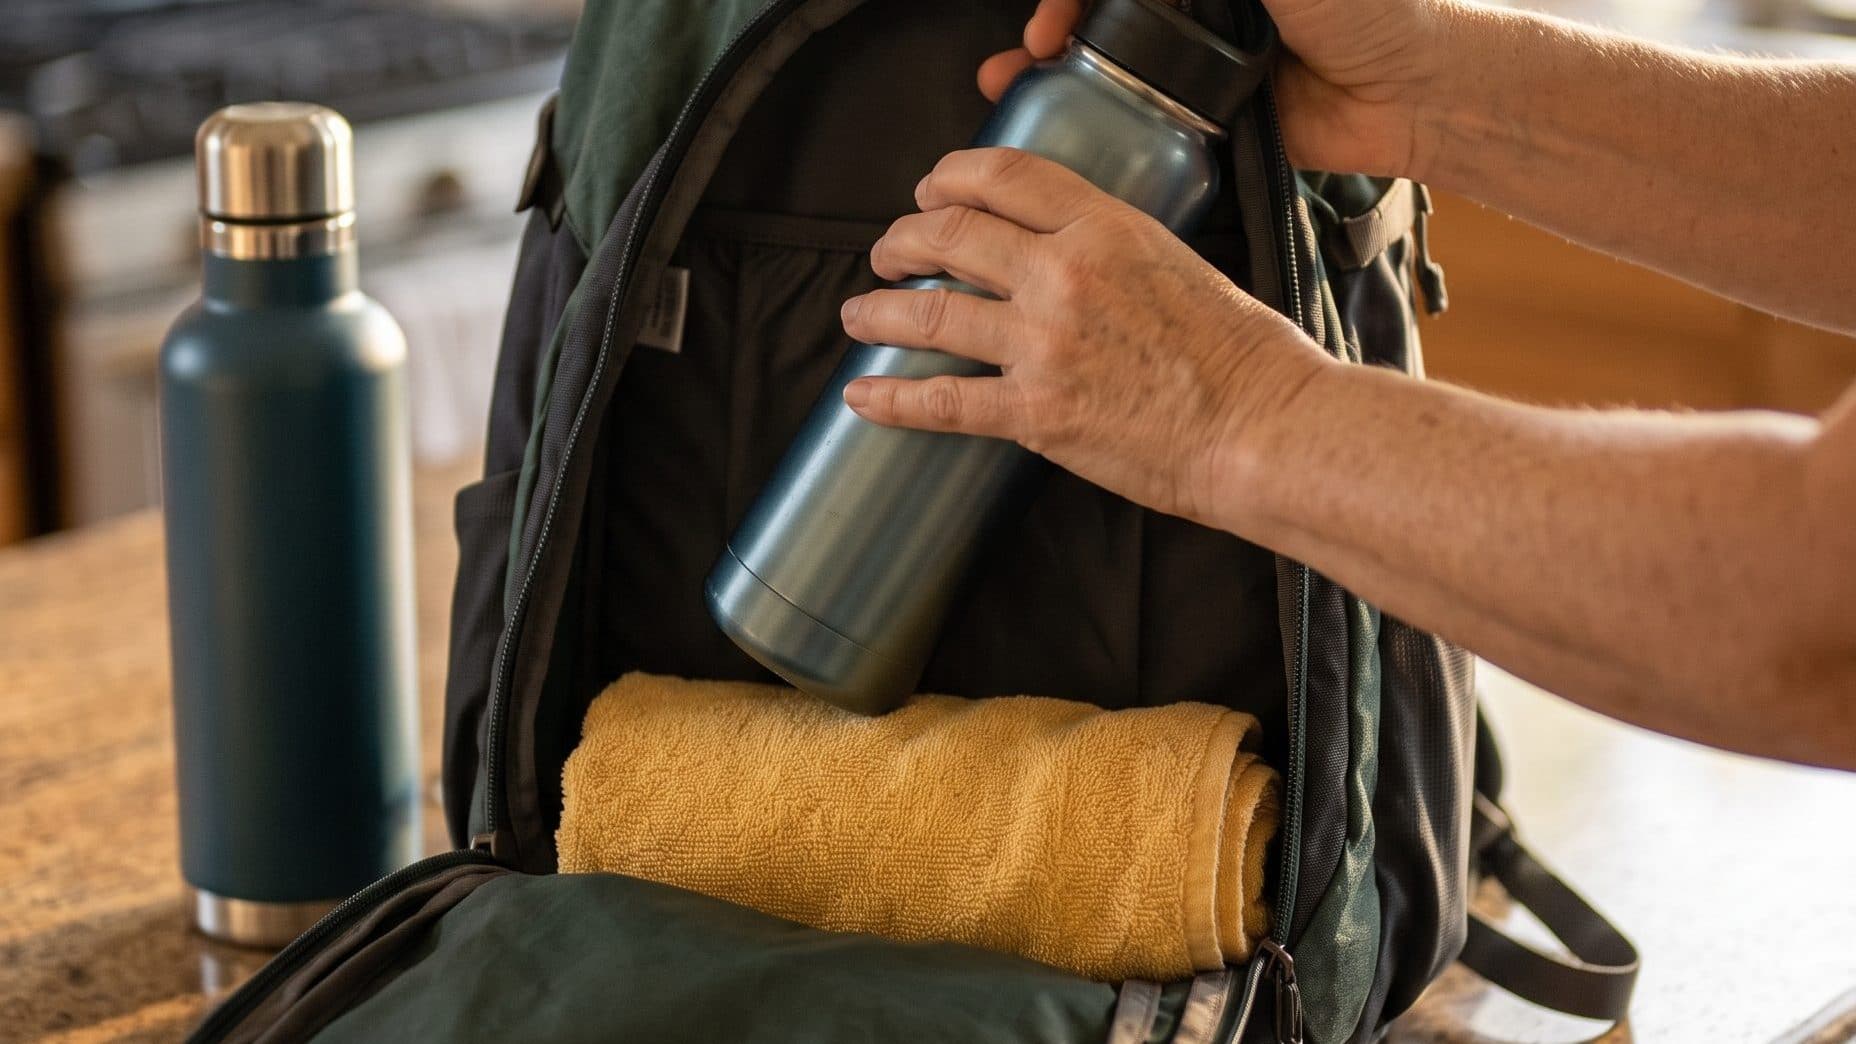
Weighted vests aren't cheap, and it's fair to want to know whether you like walking with weight before you buy one. The good news: you can try it this week with things already in your house.
This guide covers the two easiest DIY weighted vest options, what not to improvise and how to tell when it's time to buy a real vest. For how much weight to carry, our weight calculator gives you a starting range.
Short answer: start with a backpack
The best DIY weighted vest for most women isn't a vest at all. It's a backpack.
A backpack is built to carry a load, it has straps that adjust and you almost certainly own one. Walking with a loaded pack is called rucking, and it does the same basic job as a weighted vest: it adds a little weight to a walk you already know how to do.
A vest spreads the load around your torso. A backpack carries it behind you. Neither is better for everyone, and our guide to weighted vests vs rucking walks through who each one suits. For trying it out, the backpack wins because it costs nothing.
Option 1: a backpack worn snug and high
Any everyday backpack works, as long as it has two padded shoulder straps. A chest strap or hip belt is a bonus. Our rucking backpack guide has a quick test to check yours.
What to put in it:
- Water bottles. Easy to add or take out one at a time.
- Hardcover books. Flat, dense and quiet against your back.
- Rice, dried beans or sand. Double-bag it, seal the tops and wrap it in a towel.
Our guide to ruck weights covers each of these, plus ruck plates and sandbags, in more detail.
How to wear it so it feels like a vest:
- Pack the weight high and close. Put it against the back panel, between your shoulder blades. If your bag is deep, roll a towel or sweater into the bottom to lift the load.
- Fill the gaps. Stuff a soft layer around the weight so nothing slides or rattles.
- Tighten the straps. The pack should hug your back, not hang off your shoulders. Clip the chest strap and hip belt if it has them.
- Take a short test walk around the house. Climb the stairs and bend down. If anything bounces, sways or presses on one spot, repack it.
Option 2: a running or hydration vest with soft weights
If you'd rather feel the weight on the front and back of your body, a running vest or hydration vest is the closest thing to a weighted vest that many women already have in a closet.
These vests fit close to the body and have pockets on the front and back. To add weight:
- Use small, sealed bags of rice or dried beans. They mold to your body and don't have hard edges.
- Split the weight evenly between the front and back pockets so the vest doesn't pull you forward or back.
- Keep it light. Running vests are made to carry water and snacks, not heavy loads. Their straps and stitching aren't built for much more, so this option suits a light load only.
If the vest starts to sag, the straps dig in or the seams pull, that's the limit for that vest.
Can you sew your own weighted vest?
You can, if you sew. The same rules apply as for any DIY setup:
- Use small, sealed pouches of filling, sewn into separate pockets so the weight can't slide to the bottom.
- Spread the pouches evenly around the front, back and sides.
- Make it adjustable at the sides so it sits snug and high.
- Check the seams often. Sand and rice find their way out of the smallest gap.
For most women, a backpack is quicker and holds up better than a homemade vest. Sewing is worth it only if you enjoy the project.
What not to improvise
A few DIY ideas show up again and again online. These are the ones we'd skip.
- Loose items in a bag. Anything that shifts with each step makes the load harder to carry and can rub or throw off your balance.
- Hard or sharp edges. Cans, dumbbells, weight plates without padding and tools dig into your back and ribs.
- Weight that hangs from your neck. A heavy bag on a single strap, or anything tied around your neck, puts the load in the wrong place. Keep the weight on both shoulders and close to your torso.
- Ankle or wrist weights. Weight at the end of your arms or legs swings with every step and can change how you walk. Our guide to weighted vests vs ankle weights explains why we keep the load on your torso.
- Too much, too soon. A homemade setup rarely fits as well as a vest built for the job, so the same weight can feel heavier. Start lighter than you think.
Before your first walk
- Check in first if you need to. Talk to your doctor or physical therapist before you add weight if you have osteoporosis or osteopenia; bone, joint, heart or pelvic floor concerns; or if you're pregnant or postpartum.
- Know when to stop. Stop or lighten your load if you feel sharp pain, pain that changes how you walk, pelvic heaviness, dizziness or chest discomfort.
- Keep the walk familiar. Use a route you know, on flat ground, so the only new thing is the weight.
When it's time to buy a vest: what to look for
If you enjoy walking with your DIY setup and want to keep going, a weighted vest made for the job can be more comfortable. Here's what to look for:
- Removable weights in small steps, so you can start light and build up slowly.
- A cut that fits a woman's body, with the weight on your sides and back rather than pressing on your chest.
- Straps that adjust at the shoulders and sides so it sits high and doesn't bounce.
- Smooth, breathable fabric that doesn't rub under your arms.
- Weights included. Some vests arrive empty, so check before you order.
Once it arrives, our guide to how to wear a weighted vest covers fit, what to wear underneath and how to avoid sore shoulders.
Your next step
You don't need to buy anything to find out whether walking with weight is for you. Pack a backpack snug and high, start lighter than you think and see how it feels.
Find your starting range with our free weight calculator, then follow the free 4-week plan to build up one small step at a time. More gear guides are in the Gear Lab.